
7 Steps to Prepare Your Home for Winter in Oregon
Last Updated: October 24, 2026
Quick Summary
To prepare home for winter in Oregon, seal windows and doors with weatherstripping and caulk, service your heating system, insulate exposed pipes, clean gutters, and address moisture problems from heavy rain. These steps protect against cold drafts, heating system failures, frozen pipes, water damage, and mold growth common to Oregon winters.
- Sealing windows and doors can reduce heating costs by 10-15% during winter months
- Replace furnace filters every 1-3 months during heating season to improve efficiency
- Insulate exposed pipes in basements, crawl spaces, and attics with foam sleeves or heat tape
- Clean gutters before the first freeze and direct downspouts at least 4-6 feet from your foundation
- Maintain indoor humidity at roughly 30-50% relative humidity to prevent mold and moisture damage
Table of Contents
- Step 1: Seal Windows and Doors for Winter
- Step 2: Inspect and Service Your Heating System
- Step 3: How to Protect Pipes from Freezing
- Step 4: Clean Gutters and Prepare Your Roof
- Step 5: Winter Home Maintenance Checklist
- Step 6: How to Prepare a Home for a Power Outage
- Step 7: Address Moisture, Mold, and Indoor Air Quality
- Frequently Asked Questions
Step 1: Seal Windows and Doors for Winter
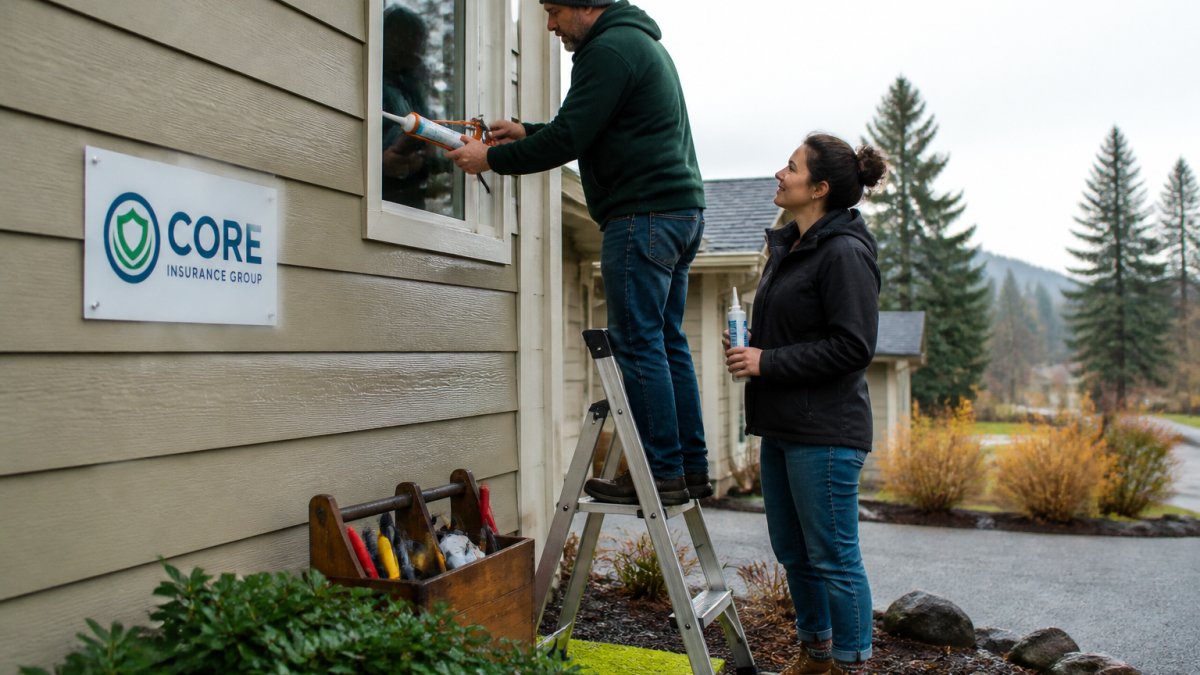
Sealing windows and doors is a key step to prepare home for winter, your first line of defense against cold drafts and heat loss. Weatherstripping and caulk stop drafts before they start.
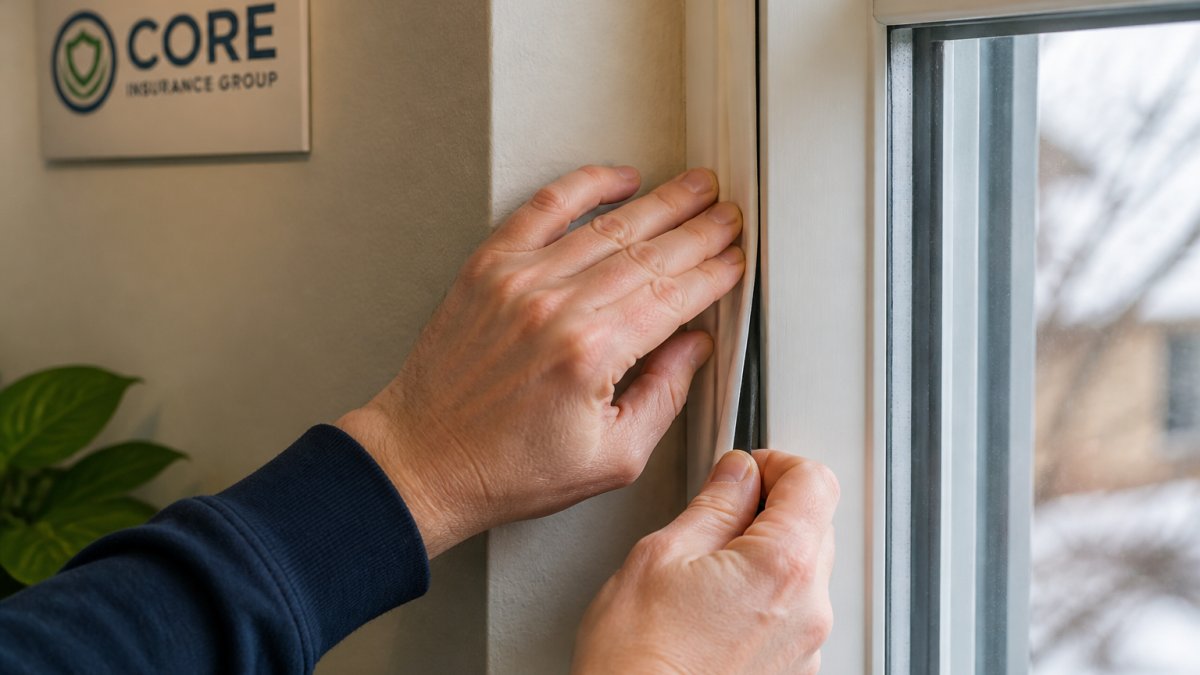
Check for gaps by running your hand around frames on a cold day, you'll feel air movement if seals are failing. Look for visible cracks where the frame meets the wall.
Weatherstripping works best on moving parts like door frames and window sashes. It's flexible and compresses when you close the door or window.
Here's how to seal your home for winter:
- Apply weatherstripping to door frames and window sashes
- Use caulk on gaps between the frame and wall
- Check basement windows and foundation vents
- Inspect garage doors for air leaks
- Don't forget sliding glass doors
Small gaps add up: a quarter-inch gap around a door is like leaving a hole that size in your wall. Sealing these openings can reduce heating costs by 10-15% during winter months.
Start with the doors you use most. Learn more about foundational home insurance tips that apply to winter preparation and protecting your home to understand how maintenance connects to your coverage.
Step 2: Inspect and Service Your Heating System
Your heating system works harder in winter than any other time of year. A well-maintained furnace runs efficiently. A neglected one fails when you need it most.
Start with the furnace filter. A dirty filter restricts airflow and forces your system to work harder. Replace it every 1-3 months during heating season to improve efficiency and prevent breakdowns.
Next, schedule a professional heating system inspection. A technician will check:
- Thermostat calibration and accuracy
- Furnace combustion and safety
- Heat exchanger condition
- Blower motor function
- Ductwork for leaks or damage
A furnace that's 10-15 years old should be serviced annually; newer systems still benefit from a yearly check. Maintenance costs far less than emergency repairs on a freezing night.
Lowering your thermostat 7-10 degrees for 8 hours a day can cut heating costs noticeably. A programmable thermostat makes this automatic.
Inspect your chimney if you have a fireplace. Discover how proper home maintenance directly lowers homeowners insurance premiums and why heating system care matters to insurers.
Step 3: How to Protect Pipes from Freezing
Frozen pipes burst and flood your home. Prevention is far easier than dealing with water damage.
Exposed pipes are your biggest risk. Pipes in unheated spaces like basements, crawl spaces, and attics freeze first. Outdoor faucets and sprinkler lines are vulnerable too.
Insulate exposed pipes with foam sleeves or heat tape.
For outdoor faucets, turn off the inside supply valve, open the faucet to drain remaining water, and install a faucet cover for extra protection.
Let indoor faucets drip during extreme cold, moving water is harder to freeze than still water, and it's far cheaper than a burst pipe.
Open cabinet doors under sinks to allow warm air to circulate around pipes. This is especially important in kitchens and bathrooms on exterior walls.
If you have a sprinkler system, blow it out before the first freeze.
If a pipe does freeze, never use a blowtorch or open flame, you risk fire and explosion.
Step 4: Clean Gutters and Prepare Your Roof
Gutters clogged with leaves and debris trap water that freezes into ice dams, backing water up under your shingles and causing leaks and water damage inside your home.
Clean gutters before the first freeze, removing leaves, twigs, and debris by hand or with a scoop. Flush with water to confirm downspouts drain properly and direct water at least 4-6 feet from your foundation.
Inspect your roof for damage while you're at it. Look for:
- Missing or damaged shingles
- Gaps or cracks in flashing around chimneys and vents
- Sagging areas that might hold water
- Moss or algae growth
Small damage now becomes major leaks during heavy rain or snow. If you're not comfortable on a roof, hire a professional, an inspection can prevent thousands in water damage.
Check your attic for proper ventilation and insulation.
Trim branches that hang over your roof, heavy snow or ice can break them onto your home, and branches touching the roof give pests a path into your attic.
Step 5: Winter Home Maintenance Checklist
A systematic approach to winter prep ensures nothing gets missed. Use this checklist to organize your work:
| Task | Timing | Who | Notes |
|---|---|---|---|
| Seal windows and doors | September-October | You or contractor | Weatherstripping and caulk |
| Service heating system | September-October | HVAC technician | Annual maintenance |
| Replace furnace filter | Before winter | You | Every 1-3 months after |
| Inspect and clean chimney | September-October | Professional | If you use fireplace |
| Insulate exposed pipes | October | You | Foam sleeves or heat tape |
| Install faucet covers | October | You | Outdoor faucets only |
| Blow out sprinkler system | October-November | Professional or you | Before first freeze |
| Clean gutters | October-November | You or contractor | Remove all debris |
| Inspect roof | October | Professional | Look for damage |
| Check attic insulation | October | You | Verify R-value |
| Trim tree branches | October-November | You or contractor | Remove branches over roof |
| Test backup power | November | You | Flashlights, batteries, generator |
| Stock emergency supplies | November | You | Blankets, water, food |
Start this checklist in September, before contractors are booked and weather turns unpredictable, so you have time to prepare home for winter and fix problems before it hits hard.
Find multiple strategies to reduce home insurance costs through preventative maintenance that align with this checklist and show insurers you're taking winter prep seriously.
Step 6: How to Prepare a Home for a Power Outage
Winter storms in the Pacific Northwest routinely take down power for hours or days, and a home without heat loses warmth fast, pipes in unheated spaces can freeze within a day of an outage in a cold snap.
Build the kit. Keep these in one easy-to-find place, and make sure everyone in the household knows where it is:
- Flashlights and extra batteries (headlamps free your hands)
- Blankets, sleeping bags, and warm layers
- Non-perishable food and bottled water, plan on about a gallon of water per person per day
- A first aid kit and a supply of prescription medications
- Phone chargers, battery packs and hand-crank options
- A battery-powered or hand-crank radio for local alerts
- Matches and candles, stored away from children and pets
Plan for safe backup heat. Never bring a charcoal grill, camp stove, or portable generator indoors, into a garage, or under a carport, carbon monoxide can build to lethal levels in minutes.
Generators: test and place correctly. Run a generator for 10-15 minutes before winter to confirm it starts, store fuel in a cool, dry place, and run the unit outdoors, well away from windows, doors, and vents.
Plan for the people and systems most at risk. Identify anyone in the household who depends on powered medical equipment or who is especially vulnerable to cold, and arrange a backup location or a check-in plan.
A documented outage plan and well-maintained systems also support your coverage. Find multiple strategies to reduce home insurance costs through preventative maintenance that align with this checklist.
Step 7: Address Moisture, Mold, and Indoor Air Quality
In much of western Oregon, winter's biggest threat to a home isn't the cold, it's the rain. Months of steady precipitation, saturated soil, and closed-up houses create moisture problems that a freeze-focused checklist never addresses. Mold, rot, and poor indoor air quality are the slow, expensive failures of a wet winter.
Where the water actually gets in. Walk your home's exterior after a heavy rain and look for these common entry points:
- Foundation and crawl space. Saturated soil pushes water against the foundation. If your downspouts dump next to the house or the soil slopes toward the walls, that water finds cracks and seeps into the crawl space.
- Crawl-space vents and vapor barriers. A torn or missing vapor barrier lets ground moisture rise into the crawl space and then into the living space above. Check that the plastic sheeting is intact and lapped, and that vents are open enough to let the space dry.
- Bathroom and kitchen exhaust fans. Run them during and for 20-30 minutes after showers or cooking, and confirm they vent outside, not into the attic or crawl space, where the moisture condenses on cold framing.
- Clothes dryers and indoor drying racks. Vent the dryer outdoors, and expect indoor-dried laundry to add real humidity to a closed-up house.
Drainage is the first line of defense. Gutters and downspouts should carry water at least 4-6 feet from the foundation, and the ground should slope away from the house. Standing water or a spongy yard after storms is a drainage problem to fix before it becomes a foundation problem; a sump pump is a backup, not a substitute for good grading.
Manage indoor humidity deliberately. Aim for roughly 30-50% relative humidity. A cheap hygrometer will tell you where you stand. Use a dehumidifier in damp basements and crawl spaces, and open windows briefly on dry days to exchange stale, humid air, even in winter.
Wildfire smoke and winter air quality. Homes closed up for winter trap whatever was in the air during smoke season. Before you button up, vacuum and dust, and change your furnace filter.
Moisture control also protects your coverage. Water damage from neglected drainage and long-term damp is a frequent source of claim disputes, so document what you fix and keep receipts. Learn what home insurance claims are commonly denied so you can prevent those situations.
Frequently Asked Questions
When should you start preparing your home for winter?
Begin your winter preparation in late September or early October, before temperatures drop significantly. This timing gives you space to complete tasks without rushing through them in cold weather. If you haven't started by November, prioritize the most critical items: heating system service, pipe protection, and weatherstripping around doors and windows. Early preparation also helps you avoid the seasonal rush when contractors may have longer wait times.
What should be in a home winter emergency kit?
A winter emergency kit should include flashlights and extra batteries, first aid supplies, non-perishable food and drinking water, blankets or sleeping bags, a battery-powered or hand-crank radio, medications, and important documents in a waterproof container. Add a manual can opener, matches or lighters, and a phone charger. For Oregon winters specifically, include extra layers, hand warmers, and a snow shovel. Keep this kit in an accessible location where all household members know to find it if the power goes out.
How do you winterize an outdoor faucet?
Shut off the water supply to outdoor faucets from inside your home, then open the faucet to drain any remaining water. Leave the faucet open during winter to allow any residual water to escape if freezing occurs. Install a faucet cover (available at hardware stores for a few dollars) over the outdoor spigot to provide insulation. For sprinkler systems, have them professionally blown out with compressed air before the first freeze. These steps prevent frozen pipes that can burst and cause costly water damage.
What temperature should you keep your house at in winter?
The EPA recommends setting your thermostat to 68°F when you're home and awake, and lowering it to 62°F when sleeping or away for extended periods. This balance maintains comfort while reducing heating costs and strain on your furnace. Never let your home drop below 55°F, as this risks frozen pipes and structural damage. If you have a programmable thermostat, set it to adjust automatically rather than manually changing it daily. During Oregon's rainy winters, maintaining consistent warmth also helps prevent moisture buildup and mold growth inside your home.

Want this checked against your own policy?
We compare 100+ carriers and tell you what actually changes.